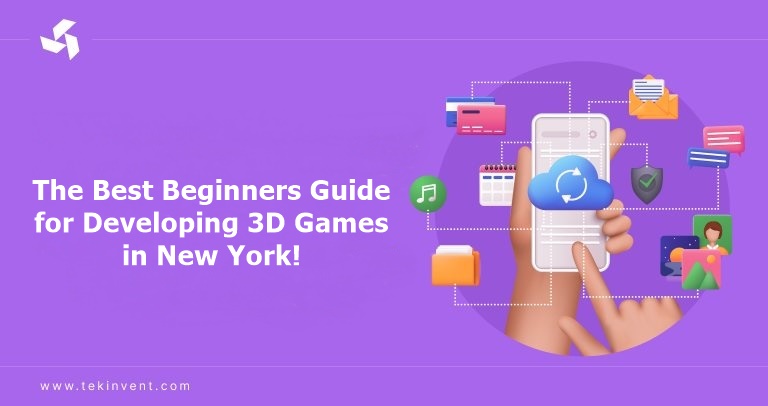
In the most recent times, game development has seen a big rise in the market share and number of games as well. Now, let’s suppose you’re planning to work with a game development company for your next great idea. The biggest fact of the matter is that the mobile games you see on Google and Apple stores have been created after countless sleepless nights, numerous fixtures, and overcoming thousands of technical challenges.
With that said, it doesn’t mean you can’t build your own 3D game! You definitely can build a game to enjoy profits from the target audience as well. The great thing about mobile games is that they can be downloaded and enjoyed anywhere in the world even if a mobile app development company in New York builds it for you.
Now, being a beginner, don’t be worried about 3D game development because you will find all the information in our blog today. If you’re passionate about your 3D game idea then anything is possible. We will share the complete guide on how to develop the 3D game yourself or you can even hire a game development company!
From epic AAA titles to charming indie masterpieces, 3D games are the backbone of modern gaming culture all around the world. And in 2026, the tools, tutorials, and communities available to beginner game developers are better than they have ever been before.
If building your first 3D game feels a little scary or overwhelming right now, do not worry at all! That feeling is completely normal and this guide is here to make the whole journey feel much more manageable and a lot more fun. Let’s get into it right away!
The Step by Step Guide for 3D Game Development
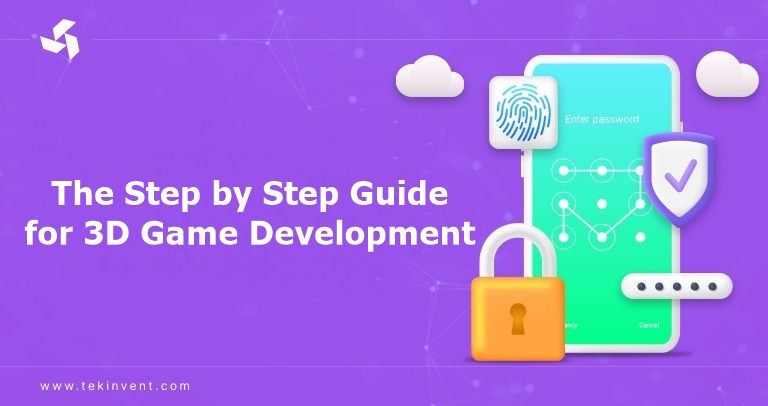
Let’s jump into the step by step guide on how you can build a 3D game in 2026:
Step 1: Understand the Basics of 3D Game Development
Before you jump into any software or start writing code, it is really important to first understand the core concepts that make 3D game development work. These fundamentals will make everything else you learn so much easier and much less confusing.
Here are the key concepts every beginner needs to know before getting started with 3D game development in New York or anywhere else in the world.
Game Engines are software platforms that give developers all the tools they need to build fully interactive 3D worlds without building everything from scratch. Think of a game engine as the foundation of your entire game.
3D Modeling is the process of creating all the visual elements of your game including characters, objects, buildings, environments, and everything else your players will see and interact with inside the game world.
Texturing and Materials are what make your 3D models look realistic and visually appealing. This is where you add colors, surface patterns, reflections, and detailed finishes to everything in your game.
Physics and Collisions handle all the realistic movement and interactions inside your game. This includes gravity, jumping, object collisions, and anything else that makes your game world feel believable and alive.
Lighting and Camera settings are what set the overall mood of your game and control how the player sees and experiences the world you have created for them.
A great tip for beginners is to start with very small prototypes first. Build tiny test environments where you can see how 3D objects, physics, and scripts all work together before jumping into a bigger and more complex project.
Step 2: Choose the Right 3D Game Engine
Your choice of game engine will have a huge impact on how fast you can build, test, and improve your game. There are three main engines that every beginner in 3D game development should know about in 2026.
EngineBest ForProsConsUnityIndie and mobile 3D gamesCross-platform support, massive tutorial libraryLess suited for AAA-level graphics out of the boxUnreal EngineAAA-quality 3D gamesStunning visuals, Blueprint visual scriptingSteep learning curve for beginnersGodotIndie 3D gamesLightweight, completely free, open-sourceSmaller community compared to Unity and Unreal
For complete beginners, Unity is the most recommended starting point by far. It is beginner-friendly, has an enormous library of free tutorials and learning resources, and it supports both 3D and 2D game development so you have a lot of flexibility as you grow your skills.
Step 3: The 3D Modeling of the Game
To make your game look visually great, you are going to need 3D assets for everything your players see inside the game. Learning the basics of 3D modeling is a really important step in your journey as a game developer.
Blender is the best starting point for beginners because it is completely free and incredibly powerful. You can use it to create characters, environments, props, and so much more without spending any money at all.
Maya and 3ds Max are industry-standard 3D modeling tools used by professional studios around the world. They are paid tools but they are worth knowing about as you advance in your game development skills.
Asset Stores like the Unity Asset Store and the Unreal Marketplace are a fantastic shortcut for beginners. These platforms offer thousands of pre-made 3D models, animations, and environments that you can plug directly into your game.
A very helpful tip for beginners is to start with pre-made assets from stores so that you can focus on learning gameplay mechanics first. You can always upgrade your art later once you have a stronger understanding of how everything works together.
Step 4: Plan the Game Mechanics
One of the biggest mistakes that beginner game developers make is jumping straight into building without planning anything first. Planning your game mechanics before writing a single line of code or placing a single asset will save you so much time and frustration later on.
3D game mechanics include things like how your player moves through the world, how the camera follows or stays fixed, how players interact with objects and enemies, and how each level is structured with clear goals and objectives.
Think about movement first. Will your player walk, run, jump, or fly? Will your game be first-person, third-person, or top-down? These decisions shape absolutely everything else in your game so they need to be answered before development begins.
Sketching out your mechanics and player flow on paper before touching any software is one of the most underrated habits of successful game developers. It sounds old-fashioned but it works extremely well every single time!
Step 5: Set Up the Project of the Game
Once you have chosen your engine and planned your mechanics, it is time to set up your actual game project. Doing this properly from the start will save you a massive amount of headaches and confusion later in the development process.
In Unity, you start by creating a brand new 3D project and then configuring your project settings based on your target platform, whether that is PC, mobile, or even VR. After that, you import all of your 3D assets including your characters, environments, and props into the project.
One of the most important habits to build from the very beginning is keeping your project files organized. Create separate folders for your Textures, Models, Scripts, Audio, and any other asset types you are working with. A clean and organized project makes development faster and much less stressful as your game grows.
Step 6: Add Player Controls and Movement
Player controls are the heart of any 3D game. If your controls feel clunky or unresponsive then players will stop playing your game very quickly no matter how good it looks. Getting your controls feeling smooth and natural is one of the most important things you can work on as a beginner.
In Unity, player movement is handled through scripts that tell your character how to respond to input from a keyboard, controller, or touchscreen. The basic movement system covers moving forward and backward, rotating left and right, and eventually jumping and other actions.
Start with the most basic movement possible and get that feeling great before adding anything more complex on top of it. A smooth and responsive basic movement system is the foundation that every other mechanic in your game will be built upon.
Step 7: Add Game Interactions and Physics
Now that your player can move around, it is time to make the world around them feel alive and interactive! This is where physics and collisions come in and it is honestly one of the most fun parts of 3D game development for beginners.
You will add rigidbodies and colliders to your objects so they behave realistically in the game world. Rigidbodies allow objects to be affected by gravity and physics forces while colliders define the physical boundaries of each object so they can bump into and interact with each other.
Collision detection lets you trigger events when objects touch each other, like picking up a collectible, taking damage from an enemy, or opening a door. Start with very simple interactions first and then gradually add more complexity as you get more comfortable with how physics works in your engine.
Step 8: Set Up Lighting, Camera, and UI
Great lighting, a well-designed camera, and a clean user interface can make an enormous difference in how professional and polished your 3D game feels to players. These elements are often overlooked by beginners but they are incredibly important for the overall player experience.
For lighting, you will work with directional lights that simulate sunlight, point lights that illuminate specific areas, and ambient lighting that fills in the overall brightness of your scene. Good lighting makes your game feel immersive and atmospheric in a very powerful way.
Your camera setup will depend entirely on the type of game you are building. First-person cameras put the player directly in the action while third-person cameras show the character from behind and fixed cameras work great for puzzle or strategy-style games.
For your user interface, you will add elements like health bars, score displays, inventory menus, and buttons. Unity uses a system called Canvas for UI elements and Unreal Engine uses a system called UMG. Both are very beginner-friendly and have great learning resources available online for free.
Step 9: Testing & Optimization
Testing is not something you do once at the end. It is something you should be doing throughout your entire development process from the very beginning. The more you test as you build, the fewer problems you will have to fix all at once at the end.
Play through each level or section of your game multiple times and look for any physics issues, visual glitches, or anything that feels off or broken. Pay close attention to how the game feels to play and make adjustments until it genuinely feels fun and satisfying.
Optimization is also a very important step, especially if you are building for mobile devices. This includes reducing the polygon count on your 3D models, compressing your textures, and making sure your game runs smoothly on your target devices without any lag or frame drops.
Polished 3D games get better reviews, retain players for longer, and stand out much more in a crowded market. Take the time to polish your game properly before publishing it anywhere.
Step 10: Deploy and Publish Your Game
You have built it, tested it, and polished it. Now it is time to share your game with the world! Publishing your first 3D game is a huge and incredibly exciting milestone that every developer remembers forever.
For Mobile: If you are publishing on Android, you will export your game as an APK file, test it thoroughly on real devices, and then publish it through the Google Play Store. For iOS, you will export an IPA file, test it on Apple devices, and publish through the Apple App Store.
For PC and Console: You can export standalone builds of your game as .exe files for Windows or .app files for Mac. Popular platforms for publishing PC games include Steam, the Epic Games Store, and itch.io which is especially great for indie and first-time developers.
A very solid tip for beginners is to start with just one platform for your first game. Trying to launch on multiple platforms at the same time adds a lot of extra complexity that can slow you down and create unnecessary stress during your first launch.
Step 11: Explore Monetization Options
Once your game is live and players are actually enjoying it, you can start thinking about how to make some money from all your hard work! There are several different monetization approaches available to 3D game developers in 2026.
Ads through platforms like Unity Ads or AdMob are one of the simplest ways to generate revenue from a free-to-play mobile game without requiring players to spend anything upfront.
In-app purchases like coins, character skins, extra levels, and unlockable content are one of the most popular and effective monetization strategies for mobile games around the world right now.
Paid downloads work very well for premium game experiences where the quality and depth of the content justify a one-time purchase price from players.
NFT and blockchain integration is also an emerging and exciting option for developers who want to explore the world of Web3 gaming and digital ownership of in-game assets.
The most important thing to remember is to always focus on making your game genuinely fun first. Monetization works best when players love your game and actually want to keep coming back to play it more.
Step 12: Post-Launch Updates & Improvements
3D game development can get very complex very quickly, especially when you start dealing with advanced assets, physics systems, multiplayer features, and platform-specific optimization. And that is completely okay because knowing when to ask for help is actually a sign of a smart developer!
If your game project grows beyond what you can handle on your own, bringing in professional developers is a great option that can take your game to a completely different level of quality and polish. Professionals can help with developing complex gameplay mechanics, creating high-quality 3D models and animations, optimizing your game for performance on specific devices, and adding advanced features like multiplayer modes or VR support.
Getting expert help ensures that your 3D game is not just functional but genuinely polished, professional, and ready to compete in the real market. There is absolutely no shame in building a team around your vision!
Final Thoughts
3D game development in New York in 2026 is genuinely one of the most exciting and rewarding creative and technical journeys a beginner can take on. The tools are accessible, the communities are supportive, and the opportunities to build something truly amazing are bigger than ever before.
Start with the basics, pick your engine, plan your mechanics, build small, test often, and polish everything before you publish. Take it one step at a time and you will be absolutely amazed at what you can create!
Got a 3D game idea that you want to bring to life? Reach out to the TekInvent team today and let’s talk about it. We would love to help you build something incredible!

Build Smart with The Right Team.
We bring expertise, technology, and trust you look for in your digital journey.